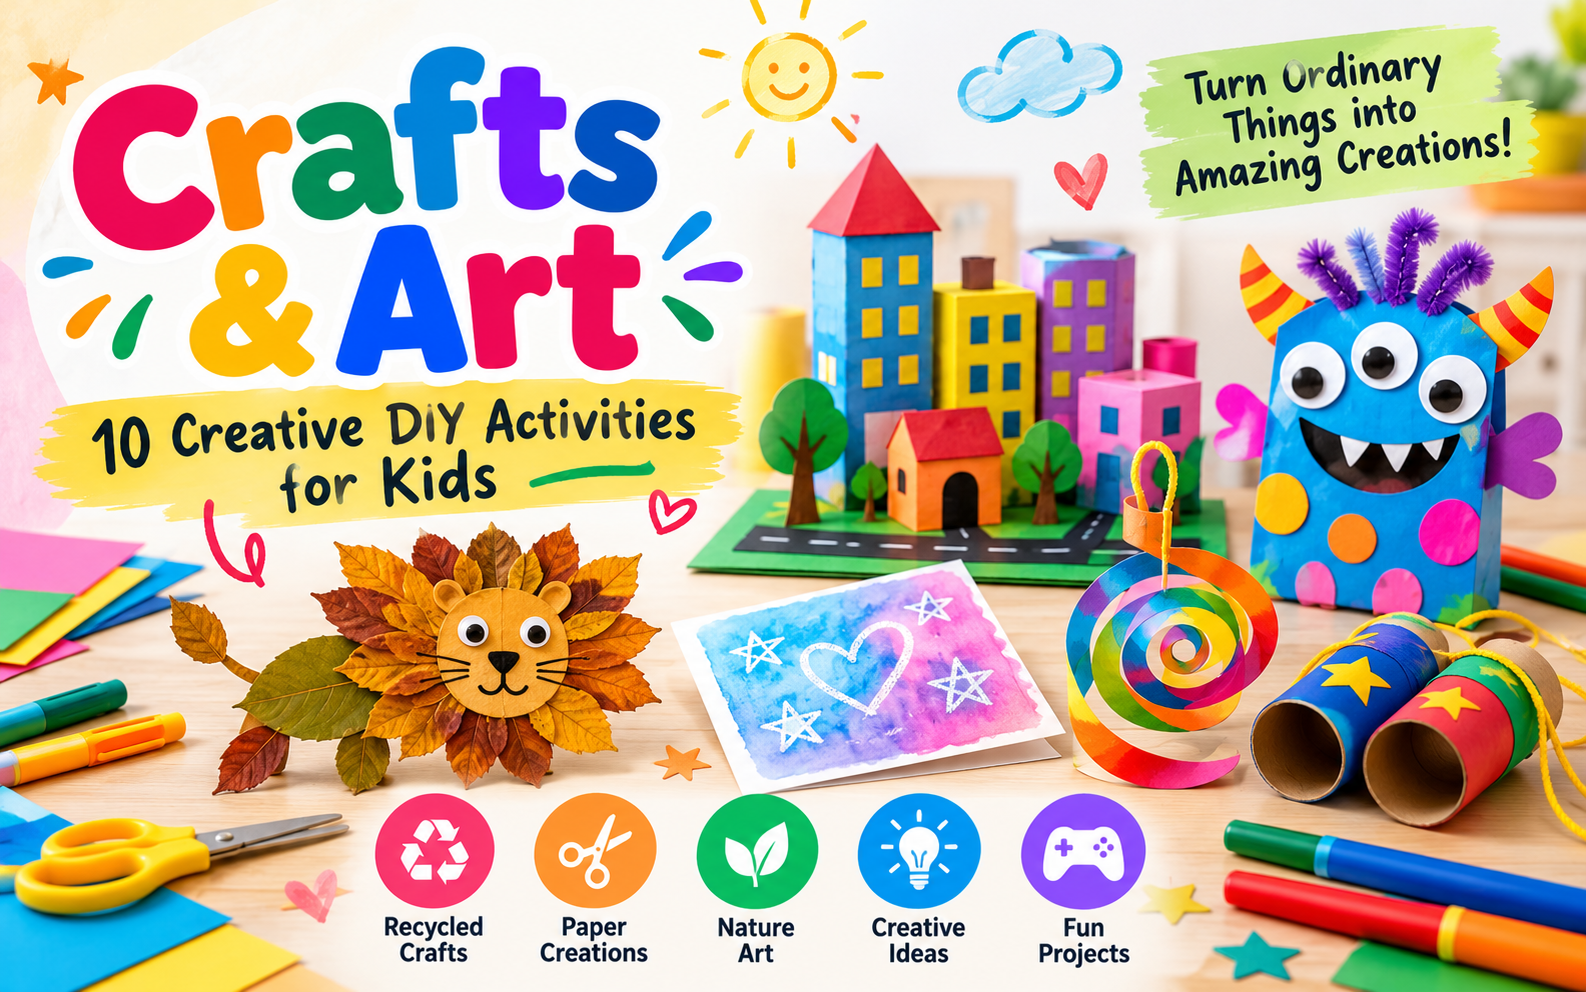
Crafts & Art for Kids: 10 Creative DIY Activities That Turn Ordinary Things into Amazing Creations
Give a child an empty cardboard box, a handful of colours and a little free time, and something interesting usually happens. The box becomes a spaceship, the colours turn into a monster's face, and a few pieces of paper suddenly become a family of imaginary animals.
That is the fun of crafts and art. Children get to make their own decisions, try unusual ideas and discover that even ordinary objects can become something special.
You don't need expensive craft kits or a room full of supplies to get started. Many exciting projects can be made with paper, leaves, cardboard, old magazines and materials already available at home.
Here are 10 creative activities that go beyond ordinary colouring pages. Each one gives children a chance to experiment, build and tell their own stories through art.
1. Make a Mini Magical City from Waste Cardboard
Recommended age: 5–12 years | Time: 45–60 minutes
What if an empty cereal box became an apartment building and a toilet paper tube turned into a city tower?
For this activity, children can build their own miniature city using cardboard packaging. They can add houses, shops, hospitals, parks, bridges and even a railway station.
Materials needed
- Small cardboard boxes
- Paper tubes and scrap paper
- Coloured paper
- Child-safe scissors
- Glue and markers
How to make it
Collect clean cardboard boxes of different sizes. Cover them with coloured paper or decorate them with markers. Draw windows and doors, then arrange the buildings on a large piece of cardboard. Make roads with black paper and use green paper for parks.
Children can give their city a name and invent stories about the people who live there.
Creative challenge: Can you build a city where every building has a special purpose, including one completely imaginary place?
This project encourages children to plan, build and solve simple design problems. It can also become a group activity in which each child creates one part of the city.
2. Create Your Own Funny Monster with Paper Shapes
Recommended age: 3–9 years | Time: 20–30 minutes
Forget drawing a perfect face. For this activity, the stranger the monster looks, the better!
Give children coloured paper in different shapes. They can use circles for eyes, triangles for teeth, rectangles for legs and wavy strips for hair. One monster might have three eyes and tiny feet, while another might have long arms and purple spots.
Materials needed
- Coloured paper
- Glue
- Child-safe scissors
- Crayons and markers
How to make it
Cut out a large body shape and stick it onto a sheet of paper. Add eyes, a nose, a mouth and as many unusual features as you like. Give the monster a name and decide what it eats, where it lives and what makes it laugh.
Creative challenge: Design a monster that looks scary at first but is actually afraid of butterflies.
This is a great way for younger children to explore shapes, colours and facial expressions. There is no correct result, so every monster can look different.
3. Turn Fallen Leaves into Animal Art
Recommended age: 4–10 years | Time: 30–40 minutes
Leaves come in different shapes, sizes and colours. With a little imagination, one leaf can become a fish's body, while another can look like a bird's wing or a lion's mane.
Materials needed
- Fallen leaves
- Paper
- Glue
- Crayons and markers
How to make it
Collect a few dry leaves from the ground. Avoid plucking leaves from living plants unnecessarily. Arrange the leaves on paper until they resemble an animal, flower or imaginary creature. Once you like the arrangement, glue them down and draw the missing details.
For a lasting project, let the leaves dry flat before using them.
Creative challenge: Can you make a whole jungle using only leaves, twigs and drawings?
Along the way, children can notice how leaves differ in shape and texture. It is a simple activity that connects nature observation with creative expression.
Safety tip: Adult supervision is helpful outdoors. Avoid unknown berries, sharp plants and anything that could be irritating or poisonous.
4. Design a Secret Message Art Card
Recommended age: 6–12 years | Time: 20–30 minutes
This project combines art with a little mystery. Children draw a hidden picture or message using a white crayon on white paper. When watercolour paint is brushed over the page, the drawing begins to appear.
Materials needed
- White paper
- White wax crayon
- Watercolours
- Paintbrush and water
How to make it
Draw a secret symbol, star, smiley face or short message using the white crayon. Press firmly enough to leave a waxy layer. Paint over the paper with a light watercolour wash and watch the wax resist the paint.
Children can turn their designs into birthday cards, treasure-hunt clues or messages for family members.
Creative challenge: Create a secret treasure map with hidden symbols that another person has to decode.
The surprise comes from seeing the drawing emerge, while the challenge introduces children to the simple idea that different materials interact with paint in different ways.
5. Build a Paper-Roll Marble Run
Recommended age: 6–12 years | Time: 40–60 minutes
Can you make a marble travel from the top of a cardboard structure to the bottom without falling out?
A paper-roll marble run turns recycling into a building challenge. Children create ramps and pathways that guide a ball through a homemade obstacle course.
Materials needed
- Cardboard tubes
- Large cardboard backing
- Paper and tape
- Child-safe scissors
- A large ball suitable for the child's age
How to make it
Cut cardboard tubes lengthwise to create half-pipe ramps. Attach them to the backing at different heights, with each ramp leading towards the next. Make small changes to the angles until the ball travels through the track.
Decorate the structure to look like a roller coaster, a futuristic machine or a rainbow tunnel.
Creative challenge: Can you add a curve, a tunnel and a final landing zone?
This project encourages experimentation. When the ball gets stuck, children can adjust the ramp and test it again.
Safety tip: Use a ball too large to swallow and supervise younger children closely. Small marbles are choking hazards.
6. Make a Rainbow Wind Spinner
Recommended age: 5–10 years | Time: 25–35 minutes
A simple sheet of paper can become a decoration that moves with the breeze.
Materials needed
- Lightweight paper
- Crayons or markers
- Child-safe scissors
- String and a pencil
How to make it
Draw a large spiral on a circular sheet of paper. Colour each section differently, then carefully cut along the spiral line. Make a small hole near the centre and attach a string with adult help.
Hang the spinner where it can move freely in a gentle breeze. Use lightweight paper so the spiral can turn and sway easily.
Creative challenge: Create a spinner inspired by a planet, a rainbow or the colours of a sunset.
Children can experiment with different patterns and colour combinations. It is also an opportunity to observe movement and discuss how air can make lightweight objects move.
Safety tip: Have an adult handle any sharp tools needed for making holes.
7. Make a Tiny Garden in a Reused Container
Recommended age: 5–12 years | Time: 30–45 minutes
A tiny garden can be a small world full of stories. Children can design a miniature park, a fairy village or a dinosaur landscape in a suitable reused container.
Materials needed
- A clean container
- Small stones and twigs
- Paper and cardboard
- Child-safe craft glue
- An optional suitable small plant
How to make it
Choose a clean container with enough space for the design. Arrange stones to create paths, use twigs for fences and make small houses out of cardboard. Add paper flowers, painted pebbles and other safe decorations.
For a living garden, use a plant that is suitable for the container and provide appropriate drainage, soil, light and water. Keep craft materials away from the plant's roots.
Creative challenge: Make a tiny garden for an imaginary animal and design a place where it sleeps, eats and plays.
Children can change the layout whenever they invent a new story. It is an enjoyable way to combine art, simple design and an interest in nature.
8. Create a Musical Instrument from Household Materials
Recommended age: 4–10 years | Time: 20–30 minutes
Art does not have to stay on paper. It can make sounds, too!
Children can design their own simple instruments and decorate them with bright colours, shapes and patterns.
Materials needed
- Small clean containers with secure lids
- Paper and tape
- Markers
- Safe household craft materials
How to make it
Decorate an empty cardboard box to create a pretend guitar or make a shaker using a sturdy container with a securely fastened lid and a small amount of suitable filling. An adult should assemble and check the instrument before use.
Invite children to tap, shake or pluck their creations and compare the sounds.
Creative challenge: Can your family create an instrument band with three different sounds?
Ask children to describe the sounds they hear. Is one high or low? Is another soft or loud? This project links visual creativity with rhythm and listening skills.
Safety tip: Avoid loose small fillings for young children, sharp edges and materials that could break apart during use.
9. Make a Flipbook Animation
Recommended age: 7–12 years | Time: 30–45 minutes
Children who enjoy cartoons may love discovering how a few drawings can create the illusion of movement.
A flipbook is a small stack of pages with slightly different pictures. When the pages are flipped quickly, the pictures appear to move.
Materials needed
- Small sheets of paper
- Pencil
- Colouring pencils
- A clip to hold the pages together
How to make it
Draw a simple object, such as a ball, in the corner of the first page. On the next page, draw it a little lower. Continue across several pages until the ball appears to bounce. Keep the object in a similar position on each page so the movement is easy to follow.
Hold the pages together and flip them with your thumb.
Creative challenge: Animate a flower growing, a fish swimming or a little character jumping over a puddle.
This activity builds patience and observation. Children see how small changes between pictures can suggest movement, an idea also used in animation and filmmaking.
10. Invent a New Board Game and Design Its Artwork
Recommended age: 7–12 years | Time: 45–90 minutes
What if children could invent a game instead of playing one that already exists?
They can design a board, create colourful game pieces and invent rules for an adventure through space, a jungle or a magical kingdom.
Materials needed
- Cardboard
- Paper and markers
- A ruler and glue
- A die
- Small game pieces
How to make it
Draw a path of connected spaces across a cardboard board. Add special spaces, such as shortcuts, puzzles or surprise challenges. Create a few cards with simple instructions and decorate the board to match the theme.
Before playing, explain the rules to another person. Test the game and make changes when something feels confusing or unfair.
Creative challenge: Design a cooperative game in which every player must work together to reach the finish.
This is a useful project for combining illustration, storytelling, planning and problem-solving. Children also practise explaining their ideas and listening to feedback.
How to Make Craft Time More Enjoyable for Children
Children can sometimes become frustrated when a project does not look like the picture they imagined. Give them room to experiment instead of expecting every craft to look perfect.
Keep a small supply of reusable materials in one place, such as cardboard, paper scraps, ribbons and washable colours. Let children choose projects based on their interests, and encourage them to change the instructions when they have another idea.
- Focus on the process: Ask children what they discovered while making something, rather than judging the finished object.
- Let children make decisions: Allow them to choose the colours, shapes and themes they enjoy.
- Reuse materials sensibly: Clean packaging and leftover paper can inspire projects while reducing waste.
- Display their creations: A shelf, noticeboard or homemade gallery can help children feel proud of their work.
- Respect their pace: Some projects may take several sessions, and that is perfectly fine.
Adults should supervise activities involving scissors, hot glue, small parts or other potentially hazardous materials. Use age-appropriate, non-toxic supplies and wash hands after messy activities.
Conclusion: Every Child Has an Artist Inside
Crafts and art give children an opportunity to make things that do not exist anywhere else. A cardboard city, a funny paper monster or a homemade animation can begin with a simple idea and grow through experimentation.
The best part is that many projects use inexpensive materials that might otherwise be thrown away. Children learn to look at everyday objects differently and discover new ways to express their ideas.
Choose one activity, spread out the materials and let the creativity begin. The result may be a little messy, a bit unusual and completely different from what you expected. That is part of the fun.
A little paper, a few colours and a curious mind can turn an ordinary afternoon into an art adventure.